Temporarily Storing and Viewing Received Image
Using the Fax Memory Lock mode of the Memory RX Inbox, you can temporarily store a received fax document in the machine as an image file, and view the file using the Remote UI.
Benefits of the Fax Memory Lock
If you cannot check the received fax document on the machine, you can view the fax document as an image file from your computer using the Remote UI.
|
Required Condition
|
|
The Fax function is available for use.
You can access the Remote UI.
|
This section describes how to temporarily store a received fax document on the machine as an image file, and view the file using the Remote UI.
The screens may differ, depending on the model of the machine and on attached optional products.
Follow the procedures below.
Setting the Fax Memory Lock
Viewing the Image File Using the Remote UI
Setting the Fax Memory Lock
You can perform this procedure using touch panel display or the Remote UI.
Using the Touch Panel Display
1.
Press

(Settings/Registration) → [Function Settings] → [Receive/Forward] → [Common Settings] → [Set Fax/I-Fax Inbox] → [Use Fax Memory Lock].
2.
Set [Use Fax Memory Lock] to 'On'.
These settings can also be specified from the Remote UI.
1.
Access the Remote UI → click [Settings/Registration] → [Receive/Forward] → [Memory Lock Settings].
|
NOTE
|
|
If the following error messages are displayed and you cannot access the Remote UI, follow the procedures below.
Page Not Found:
Select [Tools] from the menu bar → [Internet Options] → display the [General] sheet → delete the temporary internet files. Then, restart the Web browser and access the Remote UI again.
HTTP 404 File Not Found:
Check the IP address. Check the send filter/receive filter range settings in the firewall settings of the Network settings for the machine.
|
2.
Click [Memory Lock Settings] → select [Use Fax Memory Lock].
Viewing the Image File Using the Remote UI
1.
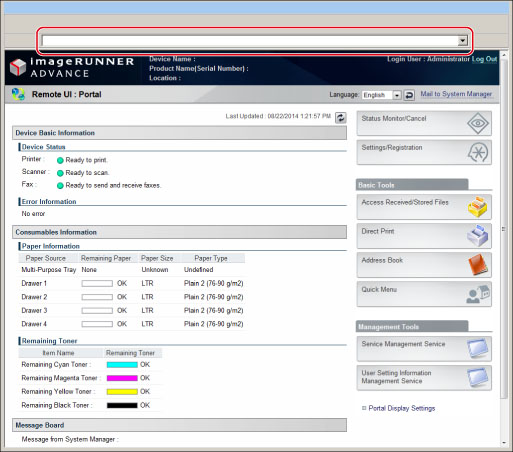
Enter the following URL in the Address field of the Web browser → access the Remote UI.
http://<IP address of this machine>/
2.
Click [Access Received/Stored Files] → [Memory RX Inbox] → [Memory RX Inbox].
3.
Click the recipient of the fax document.
You can check the received fax document.
Difference between the Memory RX Inbox and Confidential Fax Inbox
There are two types of Fax/I-Fax Inbox on the machine: the Memory RX Inbox and Confidential Fax Inbox. Both types of Fax/I-Fax Inbox can temporarily store received fax/I-fax files, but Memory RX Inbox can store the received fax/I-fax files, and have two types of inbox: Memory RX Inbox where you can print/send and Divided Data RX Inbox where you can combine the receive I-fax with divided data into one file. Also, the Confidential Fax Inbox stores received fax/I-fax files that matches the forwarding conditions and prints.