Using a Shared Address Book
You can access address books on a server via the network. Address books on a server are accessed from the machine as "remote address books."
Benefits of Using a Shared Address Book
Reducing the cost of registering and changing destinations for each machine
|
Required Condition
|
|
Network settings are set.
|
This section describes the procedure for specifying the remote address book settings for the server using another imageRUNNER ADVANCE machine and for the client using this machine, obtaining the remote address book from the server, and accessing the shared address book.
The screens may differ, depending on the model of the machine and on attached optional products.
Follow the procedures below.
Setting the Remote Address Book on the Server
Setting the Remote Address Book on a Client Machine
Accessing the Shared Address Book
Setting the Remote Address Book on the Server
You can perform this procedure using the touch panel display or the Remote UI.
Using the Touch Panel Display
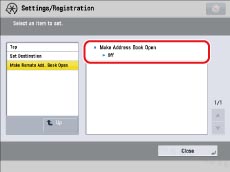
1.
Press

(Settings/Registration) → [Set Destination] → [Make Remote Add. Book Open] → [Make Address Book Open].
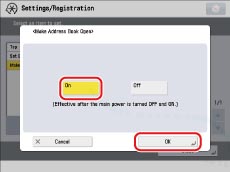
2.
Select [On] → press [OK].
This concludes the procedure for setting the remote address book on the server.
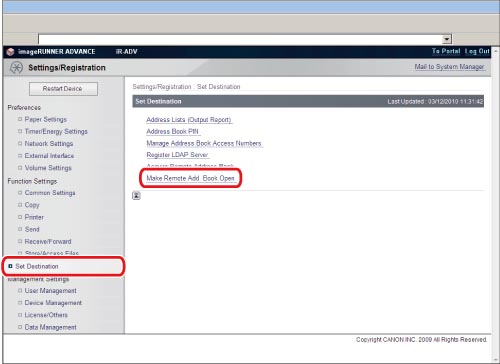
These settings can also be specified from the Remote UI.
1.
Access the Remote UI → click [Settings/Registration] → [Set Destination] → [Make Remote Add. Book Open].
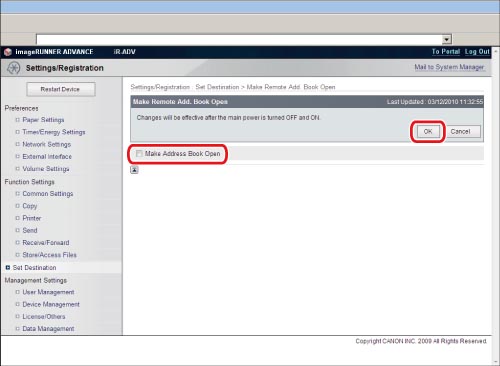
2.
Select [Make Address Book Open] → click [OK].
Setting the Remote Address Book on a Client Machine
It is necessary to specify the host name or IP address for the server machine.
Using the Touch Panel Display
1.
Press
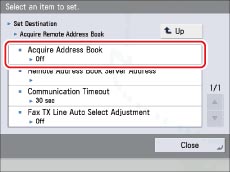
(Settings/Registration) → [Set Destination] → [Acquire Remote Address Book] → [Acquire Address Book].
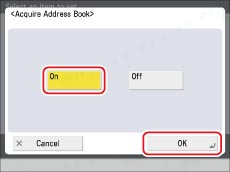
2.
Select [On] → press [OK].
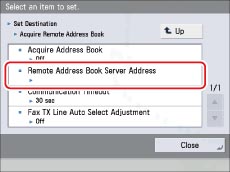
3.
Press
(Settings/Registration) → [Set Destination] → [Acquire Remote Address Book] → [Remote Address Book Server Address].
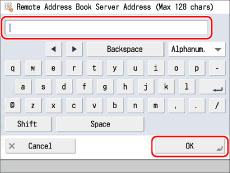
4.
Enter the host name or the IP address for the server machine → press [OK].
This concludes the procedure for setting the remote address book on the machine.
These settings can also be specified from the Remote UI.
1.
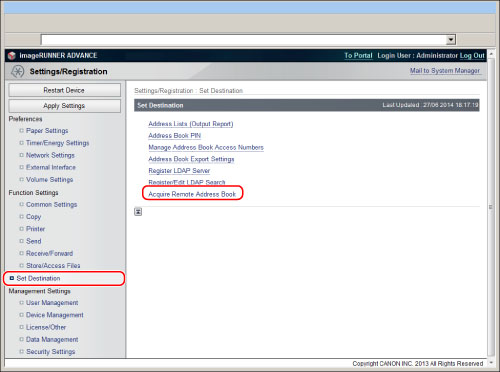
Access the Remote UI → click [Settings/Registration] → [Set Destination] → [Acquire Remote Address Book].
2.
Select [Acquire Address Book] → enter the server address in <Remote Address Book Server Address> → click [OK].
Accessing the Shared Address Book
1.
On the Main Menu screen, press [Scan and Send] → [Address Book] → [Change Address Book] → [Remote] → browse the shared address book.