This mode enables you to print a five-digit copy set number in transparent characters on copies.
You can manually set the start number for printing copy set numbers.
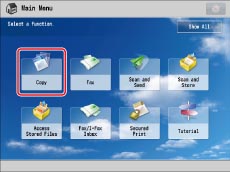
1.
Press [Copy].
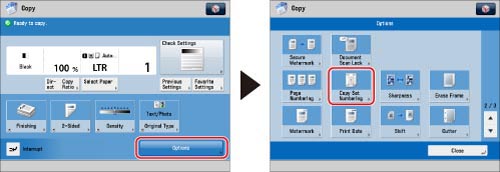
2.
Press [Options] → [Copy Set Numbering].
3.
Set the image orientation and print position.
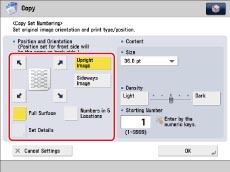
Orientation:
|
[Upright Image]:
|
Press this if you are placing originals upright.
|
|
[Sideways Image]:
|
Press this if you are placing originals sideways.
|
|
Upright Image
|
Sideways Image
|
|||
 |
 |
 |
 |
 |
|
Vertical Placement
|
Horizontal Placement
|
Vertical Placement
|
Horizontal Placement
|
|
Press [Full Surface] to print the copy set number repeatedly over the surface of the output.
Press [Numbers in 5 Locations] to select all five print positions.
|
NOTE
|
|
If you set [Number Option] to 'On', [Full Surface] and [Numbers in 5 Locations] is grayed out and cannot be selected. (See "Copy Set Numbering Options.")
If you set any two of [Page Numbering], [Watermark], or [Print Date] to print in the same position, a confirmation message appears when you press
 (Start). (Start). |
You can press [Set Details] to adjust the printing position.
To adjust the printing position, press [X] or [Y] → adjust the printing position with [-] or [+] → press [OK].
4.
Specify the print settings for the copy set numbers.
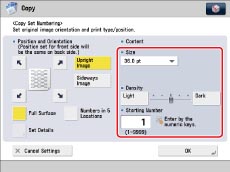
Press the <Size> drop-down list → select the size of the copy set numbers.
|
NOTE
|
|
If you set [Number Option] to 'On', you can set the copy set number size to [10.5 pt], [12.0 pt], or [14.0 pt]. (See "Copy Set Numbering Options.")
|
Press [Light] or [Dark] for <Density> to adjust the density.
Enter the starting number using  -
-  (numeric keys).
- (numeric keys).5.
Press [OK] → [Close].
|
IMPORTANT
|
|
For information on the modes which cannot be set in combination with this mode, see "Combination of Functions Chart."
Printing performance may not be optimal, depending on the original content and combination of settings.
If you use [Copy Set Numbering] with [Add Cover] or [Insert Sheets], numbers will not be printed on the inserted pages.
|
|
NOTE
|
|
If the copy number has fewer than five digits, the machine copies it as follows:
Example: If the copy set number is 10, "00010" is printed.
If you use [Print & Check] with [Copy Set Numbering], the number is copied as "XXXXX."
|