You can create a Personal flow using Workflow Composer based on a Shared flow created with Workflow Composer Editor.
Manage flows by user or by group
Shared flows can be executed by all users. Personal flows can only be executed by users specified as owners of the flow. By effectively using Shared and Personal flows, you can manage flows on a user or group basis, according to your needs.
|
Required Condition
|
|
Workflow Composer is installed in the machine you are using.
Users of the machine you are using are managed with the SSO-H authentication system.
|
This section describes how to duplicate and edit a flow to create a Personal flow using Workflow Composer.
Follow the procedures below.
Duplicating a Flow
Editing a Flow
1.
Enter [User Name] and [Password] on the Log In screen of a machine with Workflow Composer installed → press [Log In]
As an example, 'John' is used for [User Name], and 'password' is used for [Password].
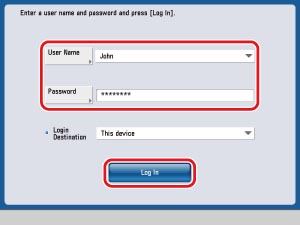
The Main Menu screen is displayed.
2.
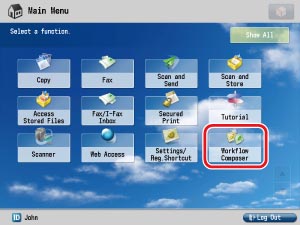
Press [Workflow Composer] on the Main Menu screen.
3.
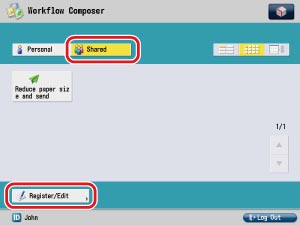
Press [Shared] → [Register/Edit].
4.
Select the flow to duplicate ([Reduce paper size and send]) → press [Duplicate].
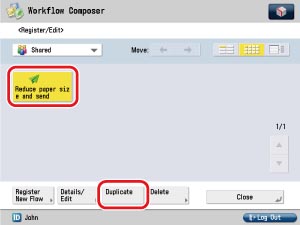
The flow is duplicated with the name [Reduce paper size and send*].
5.
Press [Close].
Edit a duplicated Shared flow to create a Personal flow.
1.
Select the duplicated flow ([Reduce paper size and send*]) → press [Details/Edit].
If the Workflow Composer Basic Features screen is displayed, press [Register/Edit].
2.
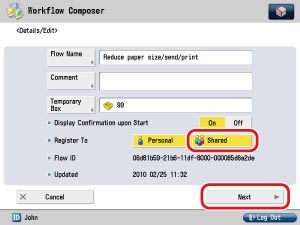
Press [Flow Name] → change the name of the flow to [Reduce paper size/send/print].
3.
Select [Shared] for [Register To] → press [Next].
By pressing [Shared] and canceling the setting, the flow is registered only as a Personal flow.
4.
Press [Print] for [Output].

5.
Press [Change Print Settings].
6.
Press [2-Sided Printing] → [OK].
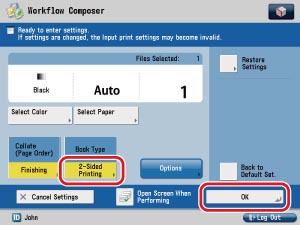
7.
Select [Book Type] or [Calendar Type] → press [OK].
8.
Press [OK] twice.
9.
Press [Close].