|
IMPORTANT
|
|
Only LTR Tab Paper can be used.
|
|
NOTE
|
|
When you load tab paper, make sure to register the paper type. (See "Registering the Paper Size and Type for a Paper Source.")
If you want to insert printed tab paper as a chapter page, insert a blank paper where the tab paper will be inserted.
|
 |
|
 |
|
|
IMPORTANT
|
|
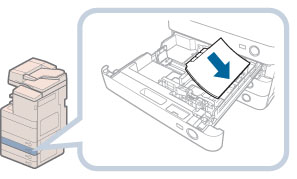
Paper which has been rolled or curled must be straightened out prior to use.
Make sure that the height of the paper stack does not exceed the limit mark (
 ) at the back of the paper drawer. ) at the back of the paper drawer. |
 CAUTION CAUTION |
|
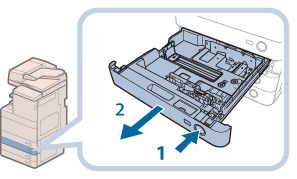
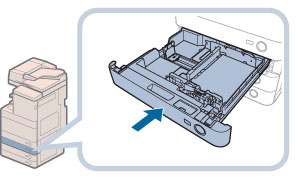
When returning the paper drawer to its original position, be careful not to get your fingers caught, as this may result in personal injury.
|
|
IMPORTANT
|
|
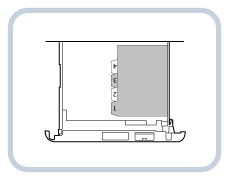
Never place paper or any other items in the open part of the paper drawer next to the paper stack. Doing so may cause a paper jam.
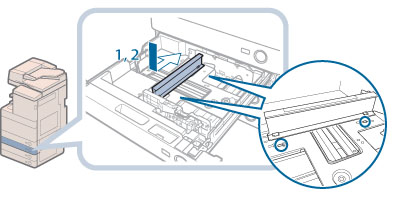
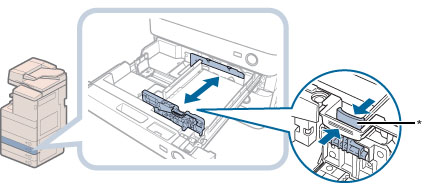
When you are not loading tab paper, make sure to remove the Tab Feeding Attachment Kit-B1 from the paper drawer. Using the Tab Feeding Attachment Kit-B1 for storing paper other than tab paper may cause a paper jam.
|
