Specifying a system manager and setting access restrictions can help prevent information leakage.
You can restrict the specification of network, address book, department ID management, and other machine settings to the system manager.
|
Required Condition
|
|
You are logged in as the administrator.
|
This section describes how to register a system manager, and set display restrictions for the Status Monitor/Cancel screen.
The screens may differ, depending on the model of the machine and on attached optional products.
Follow the procedures below.
Registering a System Manager ID and System PIN
Setting Status Monitor/Cancel Screen Restrictions
Registering a System Manager ID and System PIN
You can operate this procedure using the touch panel display or the Remote UI.
1.
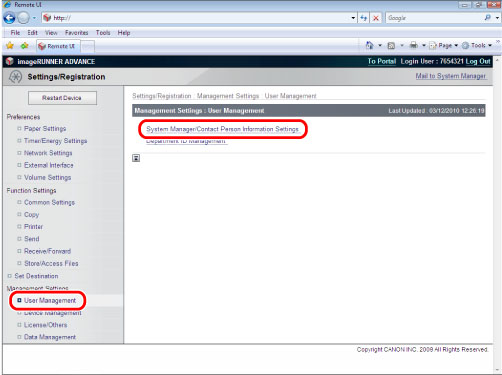
Access the Remote UI → click [Settings/Registration] → [User Management] → [System Manager/Contact Person Information Settings].
2.
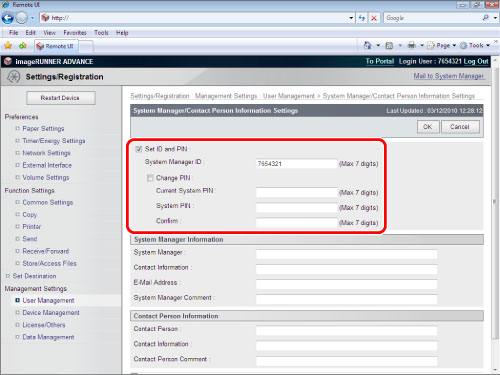
Select [Set ID and PIN] → enter a maximum of seven digits in [System Manager ID] → select [Change PIN] → enter a maximum of seven digits for [System PIN] and [Confirm]. The System Manager ID and System PIN are necessary when logging in to Settings/Registration.
3.
Click [OK].
Using the Touch Panel Display
You can specify the settings using the control panel of the machine.
1.
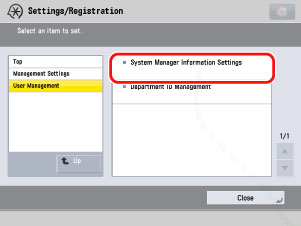
Press

(Settings/Registration) → [Management Settings] → [User Management] → [System Manager Information Settings].
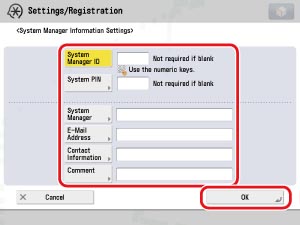
2.
Specify the desired settings → press [OK].
Setting Status Monitor/Cancel Screen Restrictions
You can operate this procedure using the touch panel display or the Remote UI.
Using the Touch Panel Display
1.
Press
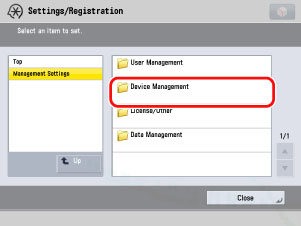
(Settings/Registration) → [Management Settings] → [Device Management].
2.
Specify each setting.
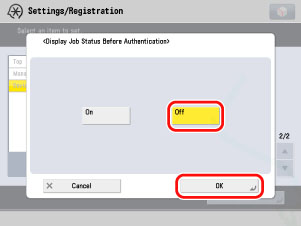
Specifying the Display Job Status Before Authentication Settings
Press [Display Job Status Before Authentication] → [Off] → [OK].
If the Display Status before Authentication mode is set to 'Off':
|
Department ID Management or Log In Service, such as SSO-H
|
The Status Monitor/Cancel Screen
|
|
Copy/Print, Send, Receive, Store
|
Consmbls./Others
|
|
Before Logging In
|
Not Displayed
|
Displayed
|
|
After Logging In
|
Displayed
|
Displayed
|
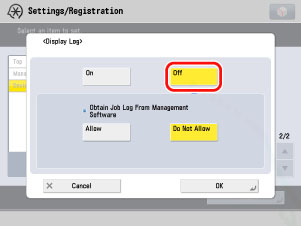
Specifying the Display Log Settings
Press [Display Log] → [Off].
Select [Allow] or [Do Not Allow] for <Obtain Job Log with Management Software> → press [OK].
<Obtain Job Log with Management Software>:
|
[Allow]:
|
Allows collection of job logs using management software.
|
|
[Do Not Allow]:
|
Does not allow collection of job logs using management software.
|
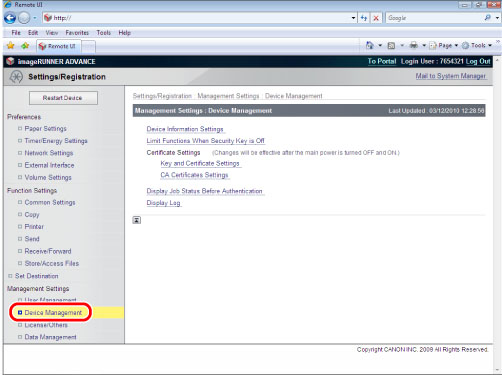
You can specify the settings using the Remote UI.
1.
Click [Settings/Registration] → [Device Management].
2.
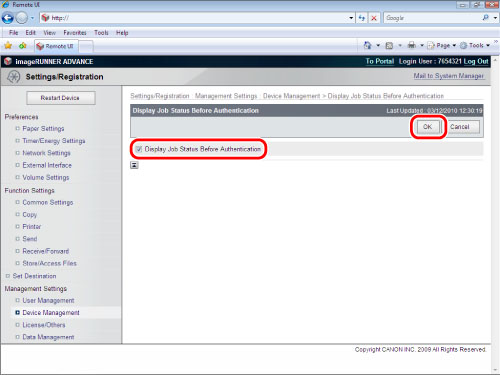
To specify the job status before authentication display settings, click [Display Job Status Before Authentication] → deselect [Display Job Status Before Authentication] → click [OK].
3.
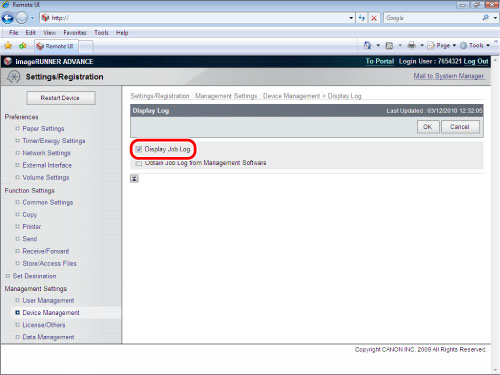
To specify the job log display settings, click [Display Log] → deselect [Display Job Log] → click [OK].