Managing the Memory RX Inbox
Managing the Memory RX Inbox
1.
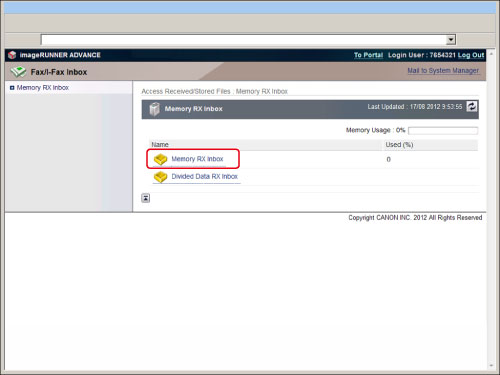
Click [Fax/I-Fax Inbox] → [Memory RX Inbox].
If the Memory RX Inbox is set with a PIN, enter the PIN → click [OK].
2.
Change the settings of the Memory RX Inbox, or select an operation to be performed for a document in the Memory RX Inbox.
To set the PIN of the Memory RX Inbox:
Click [Settings...].
Select [Set PIN] → enter the PIN in <PIN> and <Confirm>.
Click [OK].
|
NOTE
|
|
You cannot change the name of the Memory RX Inbox. Only the PIN can be specified or changed.
|
Select the documents that you want to print → click [Print] → [Start Printing].
|
NOTE
|
|
A document in the Memory RX Inbox is automatically deleted once it is printed.
|
Select the documents that you want to send → click [Send].
Specify the address, user, and send settings → click [Start].
By selecting a document and clicking the buttons under Document Order, you can change the order in which the documents are sent.
[Move to Top]: Moves to the top
[Move Up]: Moves up one level
[Move Down]: Moves down one level
[Move to Bottom]: Moves to the bottom
Click [Select Destination] under Address Settings to display a list of destinations from which you can select the desired destination.
You can delete an address from the list by selecting it → click [Delete].
Select the documents that you want to delete → click [Delete].
|
IMPORTANT
|
|
Once a document is deleted, it cannot be retrieved.
|
To specify Memory Lock settings:
Click [Memory Lock Settings] → specify the desired settings → click [OK].
For more information on the Memory Lock settings, see
"Setting the Memory Lock Mode."To display the details of a document:
Click the destination.
You can also click an icon in Type to display the document details.
Displayed Icons:
|
|
Forwarded fax document or fax document saved in memory.
|
|
|
Forwarded I-fax document or I-fax document saved in memory.
|
Managing the Divided Data RX Inbox
1.
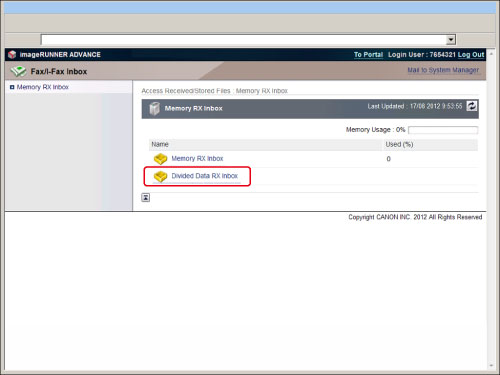
Click [Fax/I-Fax Inbox] → [Divided Data RX Inbox].
If the Memory RX Inbox is set with a PIN, enter the PIN → click [OK].
2.
Select the documents that you want to delete → click [Delete].
To print a document before deleting it, select [Print When Deleted] → click [Delete].
|
IMPORTANT
|
|
Once a document is deleted, it cannot be retrieved.
|


