You can add/delete files in the Advanced Box of another machine on the network.
1.
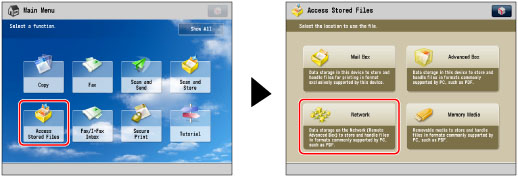
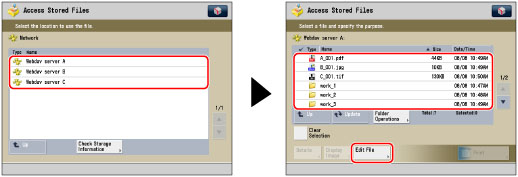
Press [Access Stored Files] → [Network].
2.
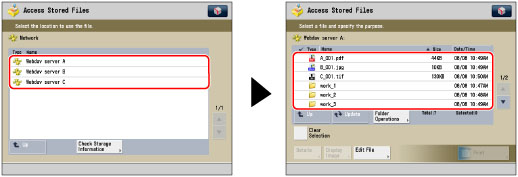
Select the desired storage location → select the directory where the file you want to delete is stored.
3.
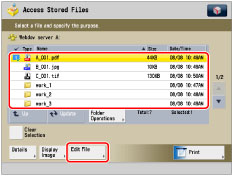
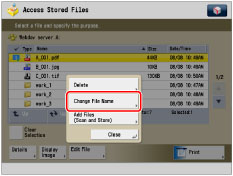
Select the desired file → press [Edit File].
4.
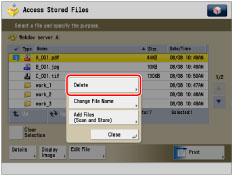
Press [Delete].
5.
Press [Yes].
Change a File Name (Change File Name)
1.
Press [Access Stored Files] → [Network].
2.
Select the desired storage location → select the directory where the file you want to change the file name is stored.
3.
Select the desired file → press [Edit File].
4.
Press [Change File Name].
|
NOTE
|
|
If you select multiple files and press [Change File Name], the selected (highlighted) file becomes the file whose title is changed.
|
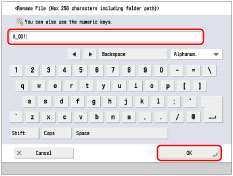
5.
Enter a file name → press [OK].
Adding a File (Scan and Store)
You can scan an original and store it as a file.
|
NOTE
|
|
If you want to use the following resolution settings to scan a color image, it is necessary to expand the memory capacity of the machine with the Additional Memory Type A (512MB).
200 x 400 dpi
400 x 400 dpi
600 x 600 dpi
|
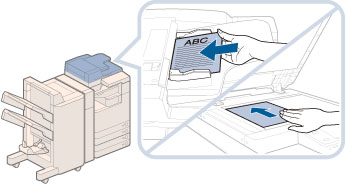
1.
Place your originals.
2.
Press [Access Stored Files] → [Network].
3.
Select the desired storage location → select the directory where you want to store the file → press [Edit File].
4.
Press [Add Files (Scan and Store)].
5.
Specify the desired scan settings.
6.
Press

(Start).
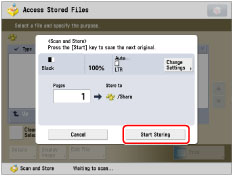
If the following screen is displayed, after the last batch of originals is scanned, press [Start Storing].
If you place your original on the platen glass, press
(Start) to scan each original.