You can either specify a file server from a workgroup, or specify the domain name of an Active Directory Server on the machine.
1.
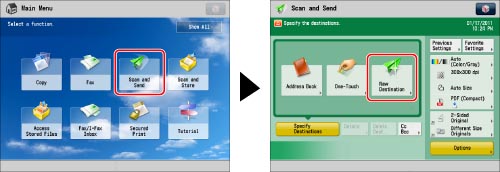
Press [Scan and Send] → [New Destination].

2.
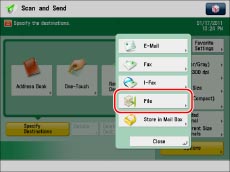
Press [File].

3.
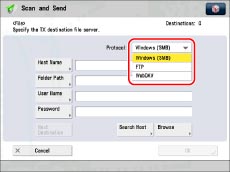
Press the drop-down list → select [Windows (SMB)].

4.
Press [Browse].
|
IMPORTANT
|
|
After turning the main power ON, you must wait for the time set in [Startup Settings] to elapse before pressing [Browse]. Network transmission is not possible until this startup time has elapsed. (See "Startup Time Settings.")
|
5.
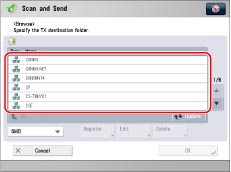
Select the desired workgroup.

You can also select the workgroup from a list of Active Directory server domain names registered in the machine, by pressing [Directory] from the drop-down list.
If you want to register a Directory server domain name, press [Register] → enter the domain name of the server.
|
NOTE
|
|
You can register up to five Directory servers.
To edit a domain name, select the domain name that you want to edit → press [Edit].
To delete a domain name, select the domain name that you want to delete → press [Delete].
|
6.
Select the desired file server → select the folder → press [OK].
To move up one level, press [Up].
If the Enter Network Password screen appears, enter you user name and password → press [OK].
To add another destination, press [Next Destination] → repeat steps 3 to 6.
|
IMPORTANT
|
|
You cannot search for a destination via an LDAP server if the time settings of the server and this machine are more than five minutes apart.
|
7.
Press [OK].