Registering Destinations via the Remote UI
You can use the Remote UI to register destinations in the Address Book. You can also check the registered details and edit the Address Book.
1
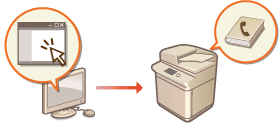
Start the Remote UI. Starting the Remote UI
2
Click [Address Book] on the portal page. Remote UI Screen
3
Register the destination.
For more information on address lists, see Registering Destinations in the Address Book.
|
1
|
Click the address list in which to register the destination ([Personal Address List], User Group Address Lists, [Address List 01] to [Address List 10], or [Address List for Administrators]).
[Personal Address List] is for the exclusive use of the logged-in user, and is only available when personal authentication management is enabled.
[Address List for Administrators] is only available to administrators who log in with Administrator or DeviceAdmin privileges.
If the page for entering a PIN is displayed, enter the PIN and click [OK].
If you want to share the destination with a registered user group, select a registered User Group Address List.
 You can also manage User Group Address Lists by enabling only users with Administrator privileges to register/edit destinations. (<Set Destination>
|
|
2
|
Click [Register New Destination...].
|
|
3
|
Select the destination type and click [Set].
 |
|
4
|
Register the necessary information and click [OK].
The displayed items vary depending on the destination type. For more information on the information to register, see Registering Destinations in the Address Book.
|
 Registering a group destination
For more information on group destinations, see Registering Multiple Destinations as a Group.
|
1
|
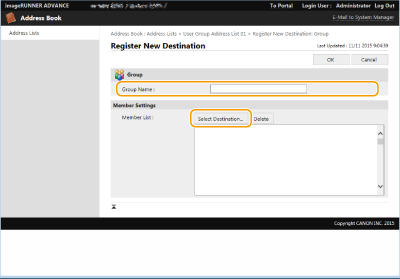
Click [Register New Group...].
|
|
2
|
Enter a name for the group in [Group Name], and click [Select Destination...] for [Member List].
 |
|
3
|
Select the check box for the destinations that you want to register to the group, and click [OK].
|
|
4
|
Click [OK].
|
Registering a name for the address list
Click [Register Address List Name...] or [Register/Change Address List Name...], enter the name, and click [OK].
Checking/editing destination details
You can click the [Type] icon or name of a destination to check the details of the destination. To edit the destination, click [Edit], change the registered details, and click [OK].
Registering to a user group address list
When using personal authentication management, an address list can be shared between users in the same user group. First, set up the user group that will share the address list, then register the destinations that you want to share.
Users can be registered to a user group to share the address lists in an address book between registered users. Registering User Groups
|
1
|
Click the address list in which to register the destination ([User Group Address List 01] to [User Group Address List 50]).
|
|
2
|
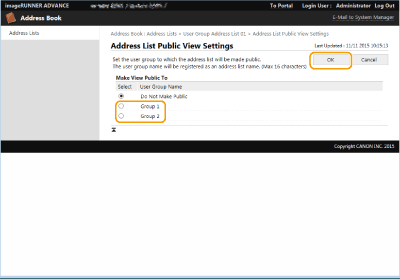
Click [Public View Settings...].
|
|
3
|
Select the group in which to share the address list, and click [OK].
 |
|
4
|
Click [Register New Destination...] or [Register New Group...].
|
|
5
|
Register the necessary information and click [OK].
|
Registering to a one-touch button
|
1
|
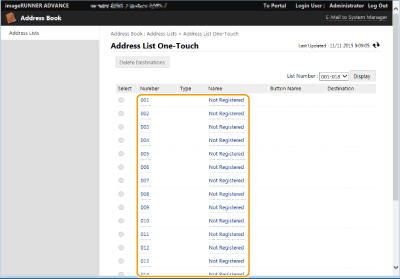
Click [Address List One-Touch].
|
|
2
|
Click [Not Registered] or an unregistered one-touch number.
[Not Registered] is displayed in [Name] for unregistered one-touch buttons.
To display one-touch buttons that are not shown in the list, select the range of numbers in [List Number], then click [Display].
 |
|
3
|
Select the destination type and click [Set].
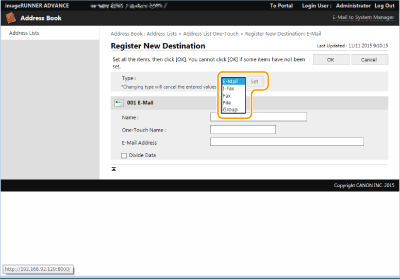 |
|
4
|
Register the necessary information and click [OK].
For more information on the information to register, see Registering a Destination in a One-Touch Button.
|