|
NOTE
|
|
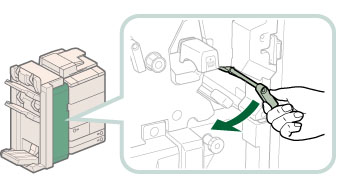
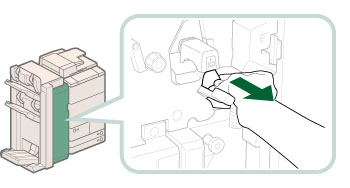
The following illustration indicates the location of the paper jam. Please refer to it to remove the jammed paper.
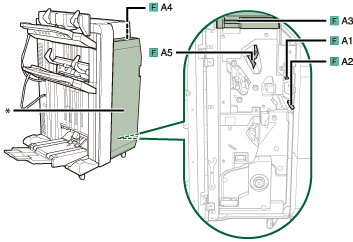 *Top Cover
|
|
IMPORTANT
|
|
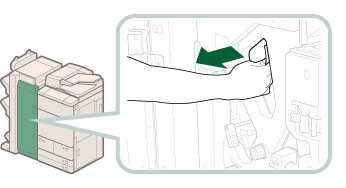
If the Document Insertion Unit-K1 is adjacently attached to the finisher, the part of the insertion unit may interfere with the finisher when clearing jams. Lift up the insertion unit before removing jams from the finisher.
|
 CAUTION CAUTION |
|
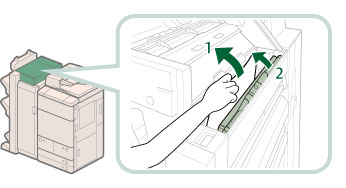
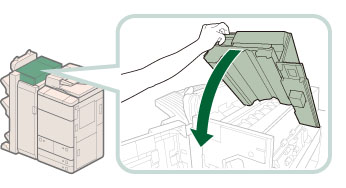
When closing the guide, be careful not to get your fingers caught, as this may result in personal injury.
|
|
CAUTION |
|
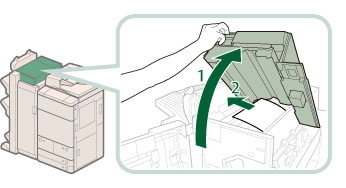
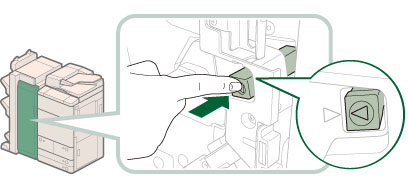
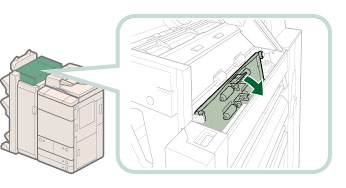
Open the upper cover slowly, as opening it too fast may result in personal injury.
|
|
IMPORTANT
|
|
Do not turn OFF the main power switch of the finisher when you open the upper cover (F-A3) to remove the jammed paper. If you do so accidentally, follow the procedures to turn OFF the main power switches of the attached optional equipments and the machine, and then back ON. (See "Main Power and Energy Saver Key.")
|
|
CAUTION |
|
When closing the guide, be careful not to get your fingers caught, as this may result in personal injury.
|
|
IMPORTANT
|
|
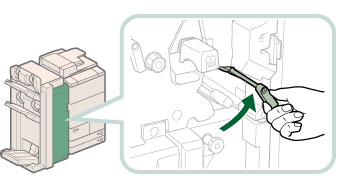
Close the guide until it clicks into place.
|
|
CAUTION |
|
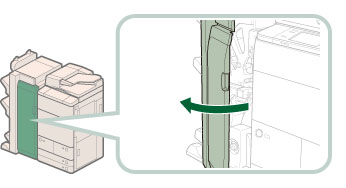
When closing the cover, be careful not to get your fingers caught, as this may result in personal injury.
|
|
IMPORTANT
|
|
After closing the upper cover of the finisher, press down on the top cover, in the locations indicated by the labels to make sure the cover is securely closed.
Do not turn OFF the main power switch of the finisher when you close the top cover. If you do so accidentally, follow the procedures to turn OFF the main power switches of the attached optional equipments and the machine, and then back ON. (See "Main Power and Energy Saver Key.")
|
|
CAUTION |
|
When closing the cover, be careful not to get your fingers caught, as this may result in personal injury.
|
|
NOTE
|
|
The screen indicating the directions on how to clear the paper jam is displayed repeatedly until the paper jam is cleared.
|