|
IMPORTANT
|
|
This mode cannot be used with jobs without a job ticket.
|
 ] or [
 ].
].|
NOTE
|
|
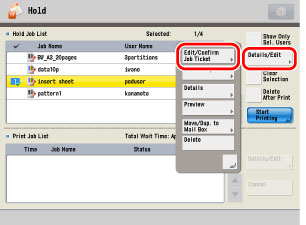
You can cancel a selection by selecting the page range again.
To cancel all page ranges, press [Clear Selection]. (When there are no selected page ranges, [Clear Selection] changes to [Select All].)
|
|
NOTE
|
|
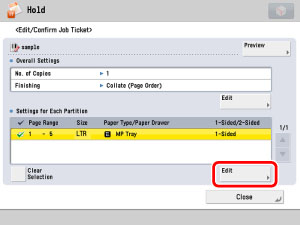
If multiple page ranges are selected and the settings of each page range are different, [Mixed] is displayed for [Output Paper Size], and [Each Partition] or [Apply Settings for Each Partition] is displayed for the other settings.
|
|
NOTE
|
|
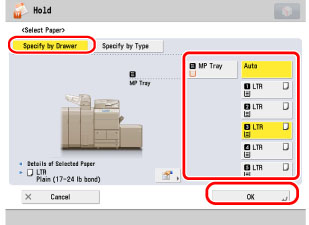
If you press
 , the detailed information of the selected paper is displayed. , the detailed information of the selected paper is displayed. |
 : : |
Paper that is registered from [Duplicate] with default settings.
|
 : : |
Paper that is registered from [Duplicate] with changed settings.
|
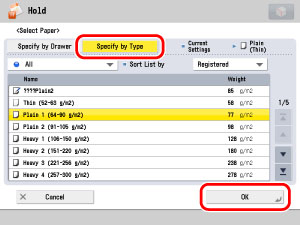
|
[All]:
|
Displays all paper types.
|
|
[Standard Type]:
|
Displays only paper types under the Standard category.
|
|
[Custom Type]:
|
Displays only paper types under the Custom Paper category.
|
|
NOTE
|
||||
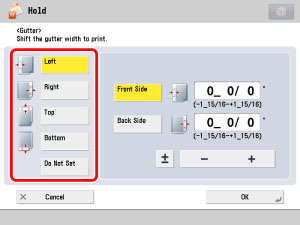
|
If you enter a value other than 0, you can switch between the positive and negative margin widths by pressing [±].
|
 -
-  (numeric keys) → press [OK].
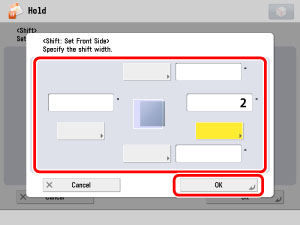
|
NOTE
|
|
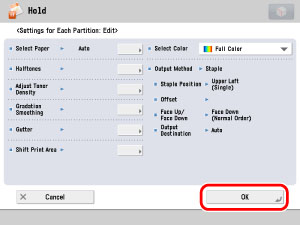
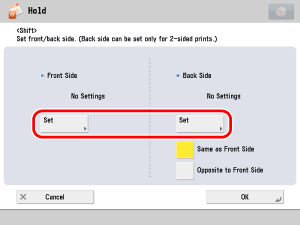
For more information on the modes which cannot be set in combination with this mode, see "Unavailable Combination of Functions."
|
