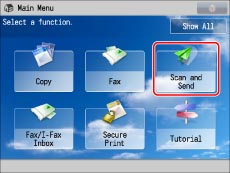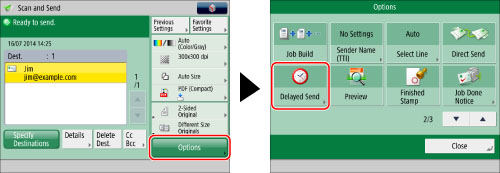

 -
-  (numeric keys).
|
Examples:
|
7:05 a.m. → 0705
11:18 p.m. → 2318
|
|
NOTE
|
|
If you make a mistake when entering the send time, press
 (Clear) to clear your entry → enter another four digit number. (Clear) to clear your entry → enter another four digit number.You can only cancel delayed send jobs from the Status Monitor/Cancel screen. (See "Canceling a Job Being Sent or Waiting to Be Sent.")
|
|
NOTE
|
|
You can reserve up to 120 jobs for delayed sending. However, the actual number of send jobs that the machine can handle may be fewer than 120, depending on the following conditions:
When multiple documents are being sent at the same time
When large documents are being sent
When a large amount of memory is being used for the Mail Box and Fax/I-Fax Inbox
The number of delayed send jobs you can reserve may also be reduced if other jobs with no Delayed Send settings are being processed, or if there are other factors affecting the specified destinations.
Once the delayed documents are sent, the documents are automatically deleted from memory.
You can check the status, cancel, or change the destinations of documents for which a preset send time has been specified. (See "Operations from the Send Screen.")
|