|
IMPORTANT
|
|
For high-quality printouts, when replacing the drum unit we recommend using a Canon drum unit.
Store drum units in a location away from light sources such as direct sunlight.
Storing the drum unit in a room that is cold but rapidly heated, or has other rapid temperature changes, causes water droplets (condensation) to form inside it.
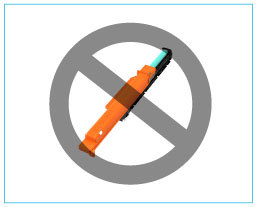
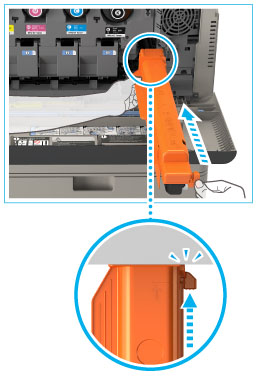
Do not remove the orange protective cover until you insert the drum unit into the machine.
|
|
NOTE
|
|
Complete instructions on how to replace the drum unit can be accessed by pressing [Previous] or [Next] on the touch panel display.
Depending on your contract, a message prompting you to replace the drum unit may appear on the bottom of the touch panel display. Only the drum unit that needs to be replaced can be selected on the touch panel display. Do not replace drum units that cannot be selected.
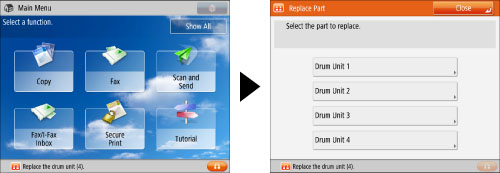 When the front cover of the main unit is closed after replacing the drum unit, initialization of the drum unit starts automatically. If multiple drum units need to be replaced, do not close the front cover of the main unit until all of the drum units are replaced.
When you finish replacing the drum unit, press [Close].
 |
|
IMPORTANT
|
|
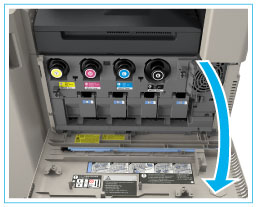
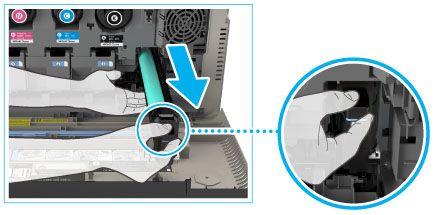
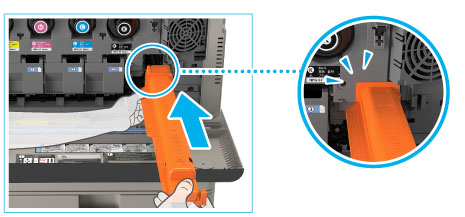
Pull out the drum unit while supporting it with your hands as indicated in the diagram.
|
|
IMPORTANT
|
|
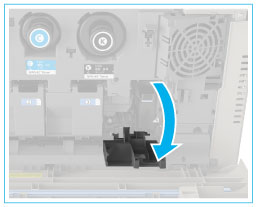
Do not remove the orange protective cover yet.
 |
|
NOTE
|
|
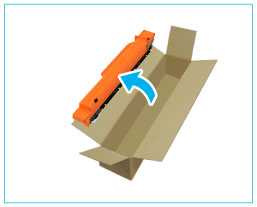
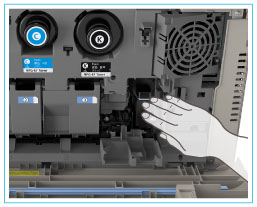
Insert the drum unit until the flange of the protective cover touches the main unit.
|

 CAUTION CAUTION |
|
When closing the front cover of the main unit, be careful not to get your fingers caught, as this may result in personal injury.
|
