|
IMPORTANT
|
|
Make sure to set the paper type correctly, especially when using heavy paper or other special types of paper. If the type of paper is not set correctly, it may adversely affect image quality. Moreover, the fixing unit may become dirty, or the paper could jam, and a service repair may be needed.
|
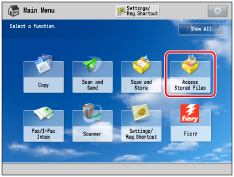
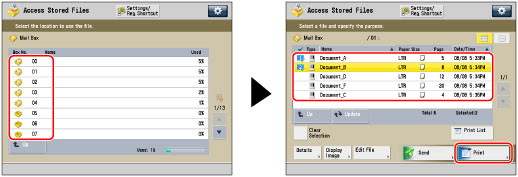
 (Main Menu) → [Access Stored Files].


|
IMPORTANT
|
|
Before feeding paper from the Document Insertion Unit-N1, load paper into the Document Insertion Unit-N1 and specify the paper size.
To feed paper from the Document Insertion Unit-N1, select [Sheet Inserter 1] or [Sheet Inserter 2]. If paper is being fed from the Document Insertion Unit-N1 for the current job, press [Change Insert. 1 Ppr.] or [Change Insert. 2 Ppr.] to select paper for the job separator sheets.
|
|
NOTE
|
|
If you press [Details], the detailed information on the selected paper is displayed.
If you press
 , you can switch whether to display the device illustration. For more information, see "Changing the Default Display of Select Paper List Screen ." , you can switch whether to display the device illustration. For more information, see "Changing the Default Display of Select Paper List Screen ." |
|
IMPORTANT
|
|
If [Staple] is selected, for the total number of sheets that can be stapled, including job separator sheets, see "Maximum number of sheets you can staple."
|
|
NOTE
|
|
You can set the Job Separator mode only if you select multiple files and set the Merge Files and Print mode. (See "Merging Files When Printing.")
You cannot print on the job separator sheets.
Job separator sheets are not counted as prints.
If you want to set both Add Cover and Job Separator, select the same paper size.
|