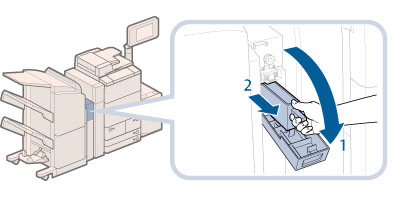
Removing Punch Waste (External 2/3 Hole Puncher-A1)
When the punch waste tray of the Puncher becomes full, a screen prompting you to remove the punch waste appears on the touch panel display. Follow the procedure described below to remove the punch waste.
NOTE
The External 2/3 Hole Puncher-A1 is an optional product.
The External 2/3 Hole Puncher-A1 is available only when the Staple Finisher-L1 or Booklet Finisher-L1 is attached.
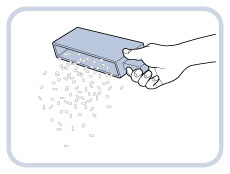
1.
Pull out the punch waste tray.
1. Open the front cover of the puncher.
2. Pull out the punch waste tray.
2.
Discard the punch waste.
NOTE
Make sure that the punch waste tray is completely emptied.
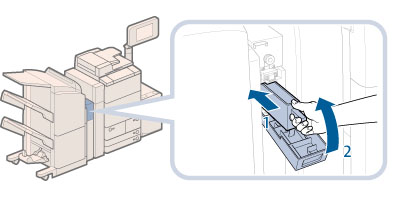
3.
Return the punch waste tray to its original position.
1. Push the punch waste tray back into its original position.
2. Close the front cover of the puncher.
CAUTION
When closing the cover, be careful not to get your fingers caught, as this may result in personal injury.
NOTE
If the punch waste tray is not securely in place, you cannot make copies or prints in the Hole Punch mode.
» Maintenance » Removing Punch Waste (External 2/3 Hole Puncher-A1)
08JK-0K5