Details of each item are shown below.
| [Server Name]: |
Enter the name of the LDAP server. |
| [Server Address]: |
Enter the address of the LDAP server. |
| [Location to Start Search]: |
Enter the location (the directory in the LDAP server) from which to start searching. |
| [Use SSL]: |
Set whether to use SSL or not. If this check box is selected, SSL will be used. |
| [Port Number]: |
Enter the port number that the LDAP server uses. The default port number that is displayed varies depending on whether the [Use SSL] check box is selected or not. If necessary, change the default port number setting. |
| [Max Number of Addresses to Search]: |
Enter the maximum number of addresses to search on the LDAP server. |
| [Search Timeout]: |
Enter the maximum search time for addresses on the LDAP server before the session times out. |
| [Login Information]: |
Set the login information. Click the Login Information drop-down list → select the type of login information → specify the necessary fields. Some fields may be disabled, depending on the type of login information selected. |
Click [Register/Edit LDAP Search Attributes] to set additional attributes (Display Name and Attribute Name).
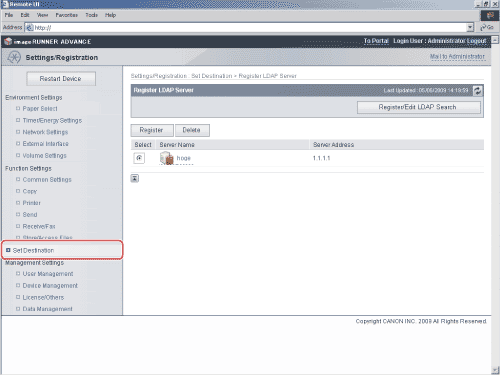
 (Settings/Registration) → [Set Destination] → [Register LDAP Server]. For instructions on using the control panel to specify LDAP settings, see "