|
|
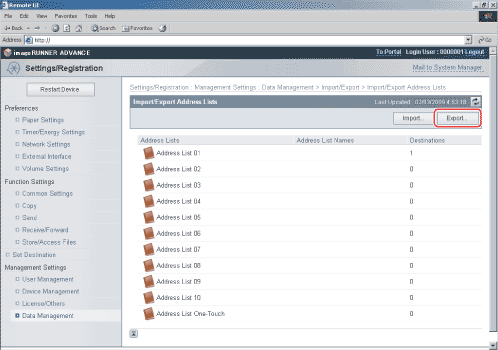
- Select the address list to export and the file format → click [Start Exporting].
Details of each item are shown below.
| [Address List]: |
Select the address list to be saved as a file from the drop-down list. |
| [File Format]: |
Select the format in which to save the file.
- Custom Format: Select this if the file is to be imported into another machine that is similar to this one.
- LDAP Format: Select this if the file is to be used by another application (e.g., Microsoft Internet Explorer, Netscape Navigator, Microsoft Outlook, Eudora, etc.). Import this file as LDAP data from within these applications.
|
| [Password]: |
Enter the password to encrypt the Address List certified information. |
| [Confirm]: |
Enter the password again. If the password you enter here is different from the one you entered for [Password], an error dialog box appears. |
- [Password] and [Confirm] are displayed if the following setting is specified:
[Settings/Registration] → [Set Destination] → [Address Book Export Settings] → [Including Password When Exporting Address Book] is selected.
- If you select [LDAP Format], only e-mail addresses can be saved. To save all the information stored in the address list, select [Custom Format].
|